This application was made for those of you who print using the sublimation method. The application will pull your sublimation print files from Riverr, add a barcode and blank product information to your image, and send it to the folder of your choice. This means that you will be able to easily match blank products with your prints, and the process of getting those images to the printer will be fully automated. Ready? Lets get into it!
1. Download the application from your dashboard
2. Go through the installation steps. Here is what it should look like:
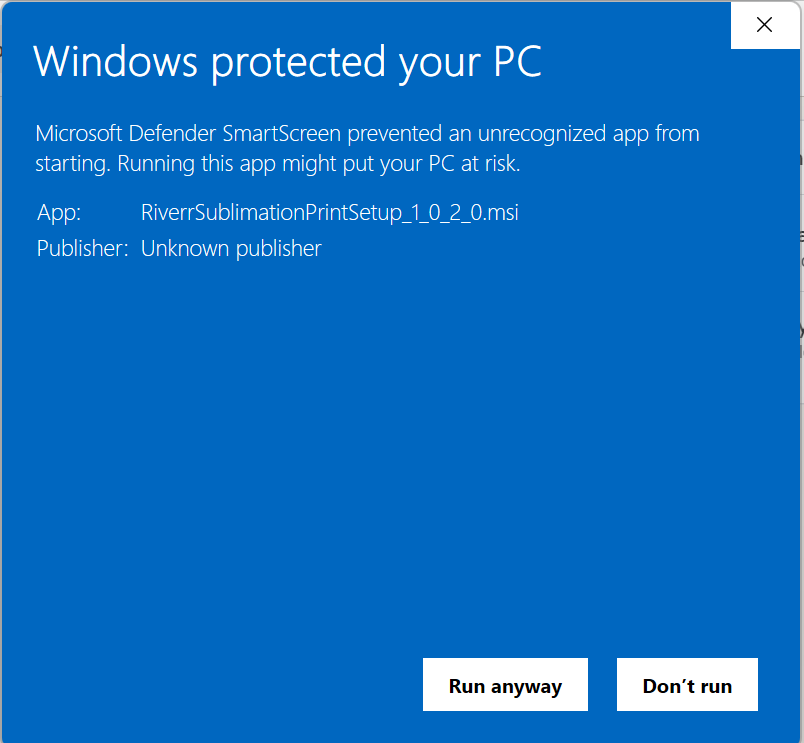
In the image above, click "Run Anyway."

On this popup, click "Next."
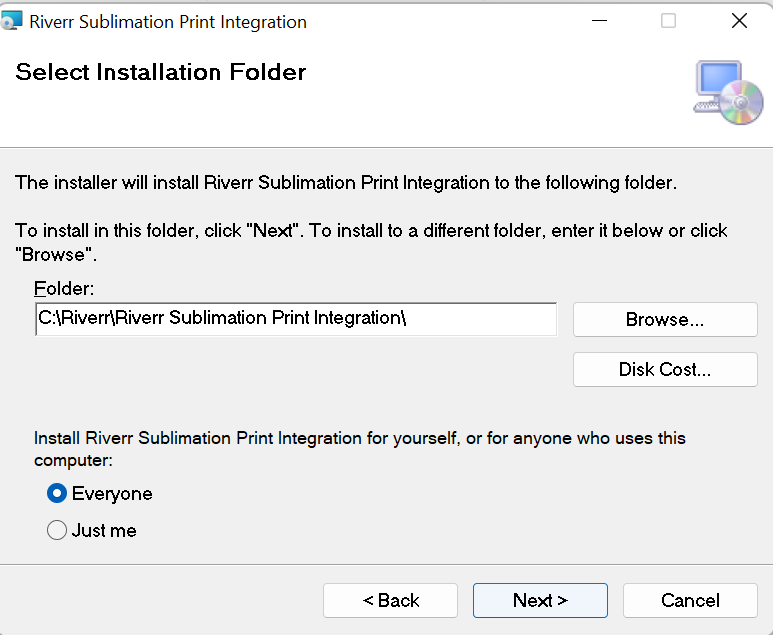
Choose where you want to save this application, and then click "Next."
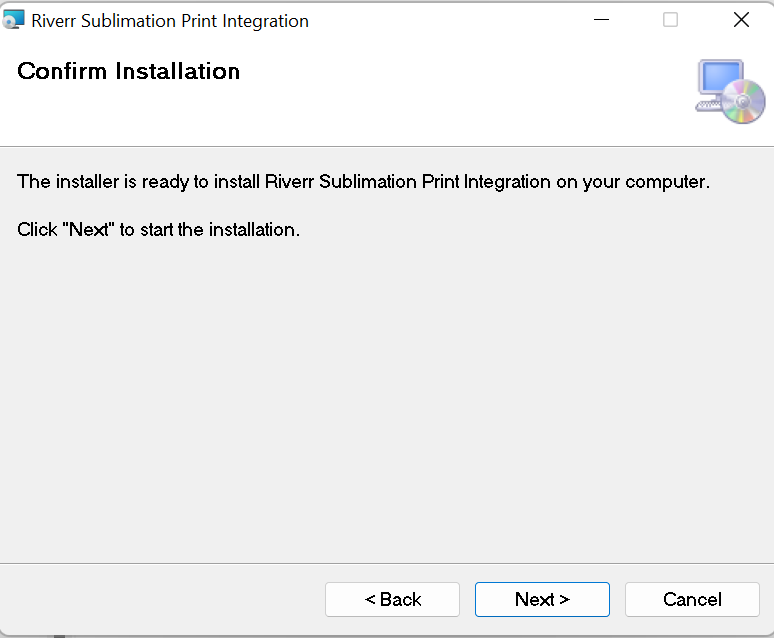
Again, click "Next."
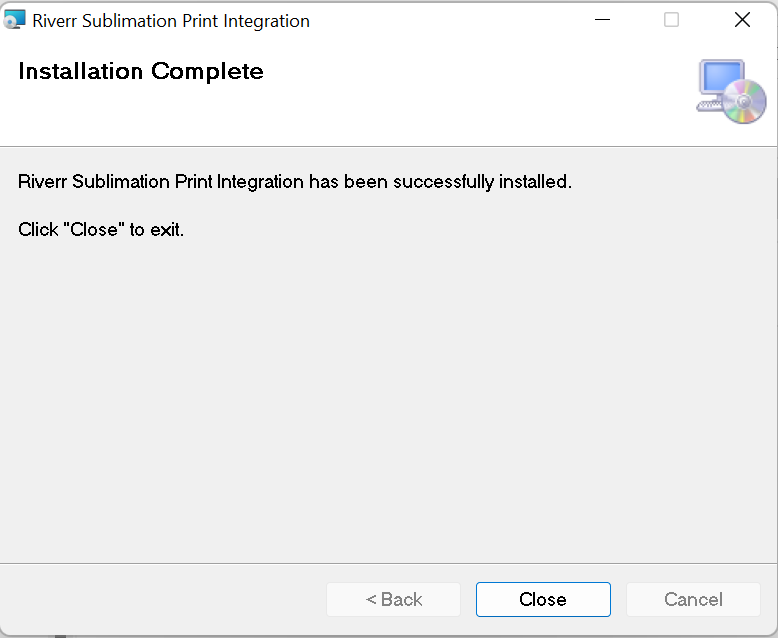
And....done! Now we are ready to start creating your settings.
3. Create your Print Settings
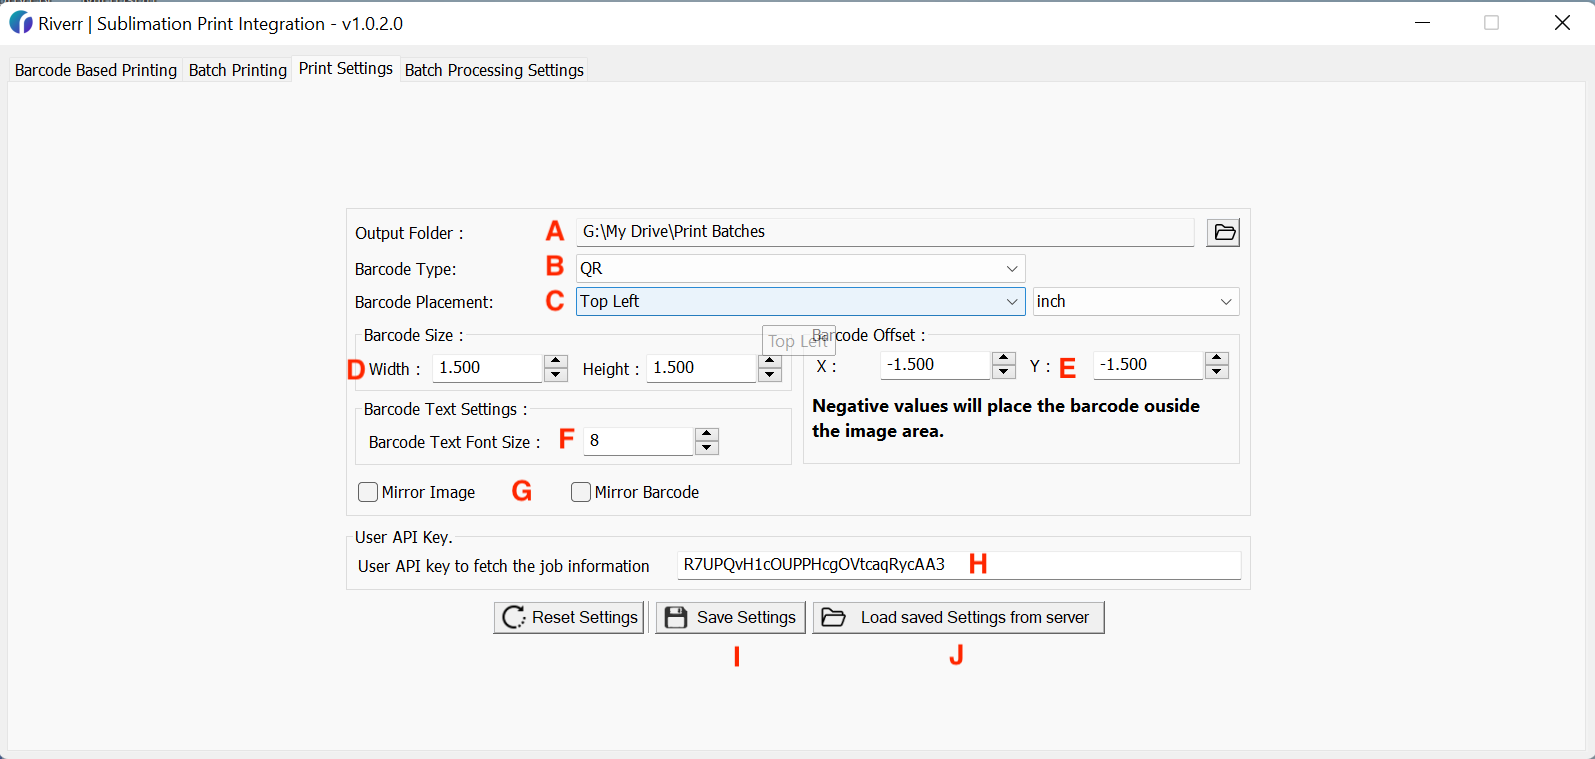
Ok, there are a lot of letters here we need to go through, but I promise it wont take long! Navigate to the "Print Settings" tab.
A. This is where your images will be sent after they are processed. This is generally a hot folder that is connected with your sublimation printer.
B. You can choose either a 2d barcode or a QR code as the output on the image.
C. This is where you would like the barcode placed on the print file (Which corner) and which unit of measurement you would like to use.
D. This is the width and height of the barcode that will be added to the print file
E. This is the area where you will set your offset for the barcode and text. As it says on the page, if you use negative values then the barcode will be set outside of the original image, but if not then it will be added inside of the image itself.
F. This is the font size that accompanies the barcode.
G. If you would like to mirror either the print file or the barcode, you will need to check these boxes to do so.
H. This API key that you will need to add from the same area that you downloaded the application from. This is how this application will connect with the cloud application to receive your print files.
I. After you have added this information, you will need to save your settings. It will ask you if you also want to save them to the server....This will allow you to pull these settings later for different computers or later versions of the application.
J. This is where you can pull those saved settings from the server that we just talked about.
4. Next, lets navigate to the "Batch Processing Settings" tab, which will look like this:

This tab is dedicated to pre-processing your images. You can decide how and when you would like the images to be preprocessed and where you want them to be directed.
A. This is the folder that you would like the print files to be sent.
B. This button activates the processing after you have chosen a batch to process.
C. This is where you can choose a specific batch to begin processing. This is the manual way of processing folders.
D. You can optionally choose to have the application automatically process new batches for you. This is not recommended if you use multiple decoration methods in your shop because it will process files for every batch, even those that are not for sublimation.
E. This is asking if you would like to delete the temporary files after they have been printed.
F. For most of you in sublimation, you will not be scanning each image and will want all images to be sent directly to the folder. Check this box if you would like this to be the flow.
5. "Barcode-Based Printing" and "Batch Printing" tabs
These tabs will not be used often with sublimation. If on the off chance you do scan to print your images one by one, then you will want to use this area of the software. When the barcode is scanned, it will bring up the properties of the image and will send it to the chosen hot folder.
The difference between the two folders is that barcode based printing processes the image in real time while the batch printing tab pulls print files that you have already processed using the batch settings page.
There you have it! Now you are ready to start automating those sublimation print files and make your workflow more even more efficient!