So you signed up with Riverr, and you are ready to start handling your orders and using a new system...but what about the hardware? Good question. Below is a quick guide to guide you through the items you will need to make your system run well.
1. Barcode Scanner
This actually should probably say "scanners," because you will need multiple throughout the workflow.
Before we go any further, please note that the scanners will need to have the ability to read QR codes. Make sure that the ones you purchase has the ability to do so. These are called "2d scanners," as opposed to "1d scanners."
These are cheap and easy to find, and your best bet will probably be amazon. It is up to you if you want a wireless one, and you will need to make sure that the type of connection will work with the computers that you are using.
Where will you need them? You will need one per printer, one for each quality control person who will be placing items in bins, and one for each person that is packing and shipping orders. If you are a small shop, then the quality control person and the packing/shipping person could be the same person...so at minimum you will need two scanners.
Still want to know exactly what to get or what a good option would be? Here is a link to one of the best selling scanners on Amazon:

2d Barcode Scanner From Amazon
2. Shipping Label Printer
Next, you will need a shipping label printer. You can actually use any printer for this, but we have found that we really like the Rollo brand label printer.
It is a direct thermal printer, so you will not have to buy any ink for this machine, and you can buy 4x6 shipping labels that will allow you to quickly print and place on your packages.
Here is a link to this printer on Amazon:


3. Barcode Label Printer
Here is where it gets a bit more technical, especially if you use a tunnel dryer in your workflow. Although direct thermal printers (Like Rollo) will be able to print the correct size barcode labels, they WILL NOT WORK FOR THIS APPLICATION. Direct thermal printers use heat to apply the image, so as soon as one of these barcodes goes through a tunnel dryer, it will come out completely black...and you will no longer be able to use the barcode.
So then, if direct thermal printers don't work, then what does? You will need to find a "thermal transfer printer." Although these printers still use heat to apply the image to the label, it does so by using transfer paper.
These printers are very high quality, and you can also use them for your shipping labels if you want.
The most popular brand in the industry is "Zebra," and they have a lot of different models to choose from. (Note: They do also sell direct thermal printers, so make sure that the one that you purchase is a "thermal transfer printer.")
Here are links to a specific model that works well, along with the supplies that are compatible. You will need to purchase the printer, the labels, and thermal transfer ribbon for this setup to work.

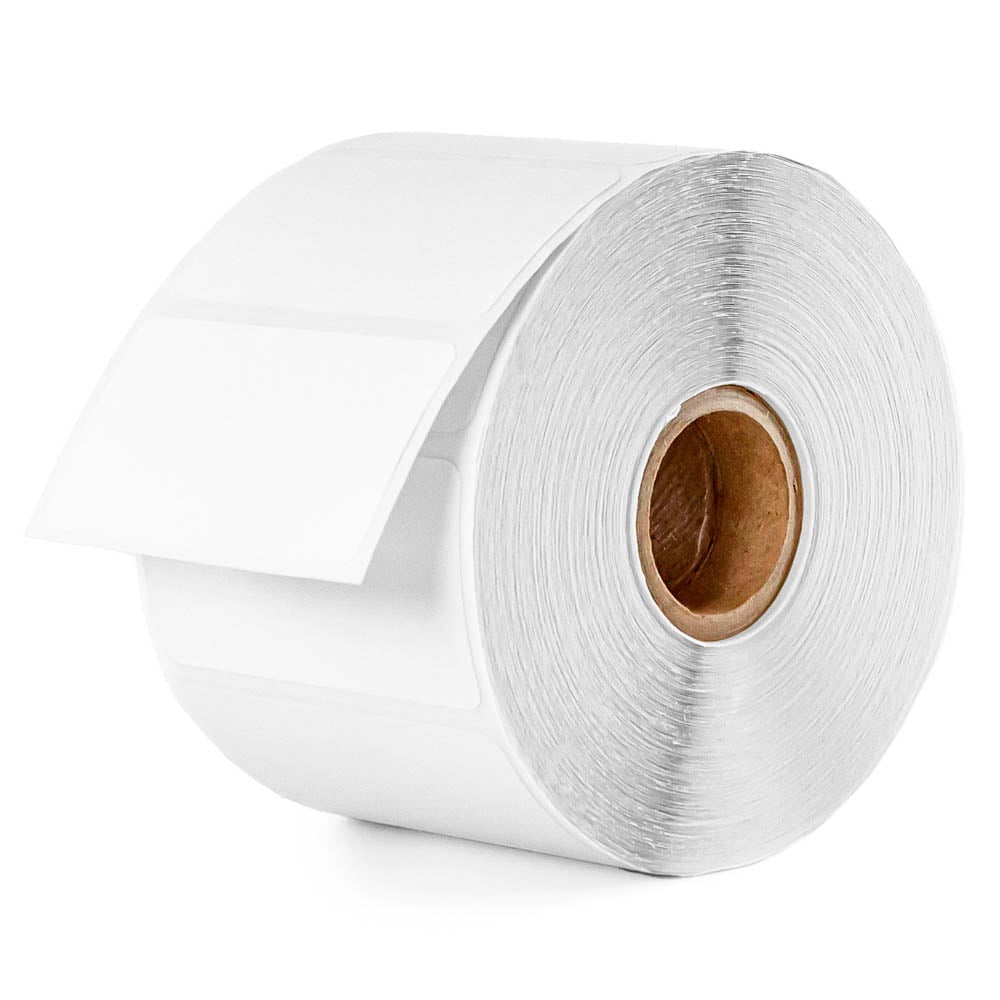
Roll Of 2.25' x 1.25' Barcode Labels

4. Bins and shelves!
Now, this is technically optional because there are two ways of fulfilling orders:
1. You can fulfill by order: This is most likely what your current workflow is. In this case, you will not need bins.
2. Fulfilling by item type: This is our recommendation because of the increased efficiency and rate of fulfillment, but I am not going to go over the pros and cons in this post. If you want to dive a bit deeper into this, we have a blog post for you!
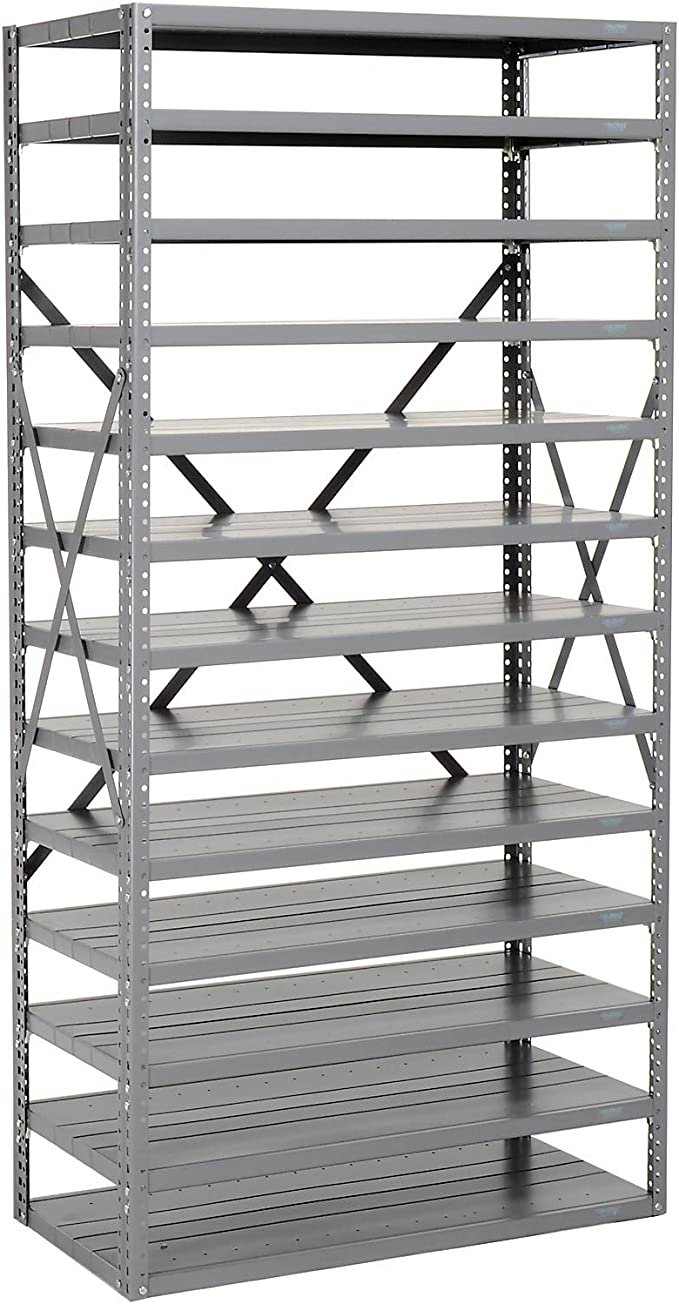
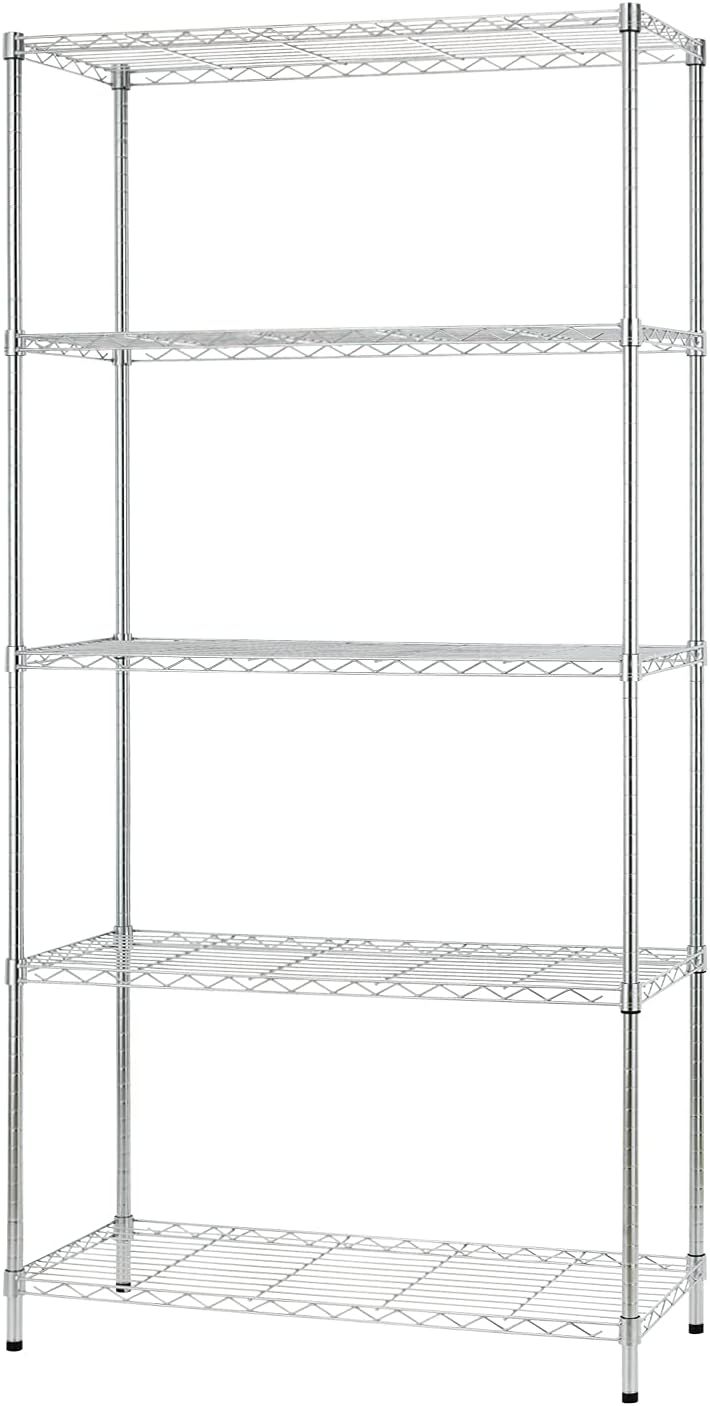
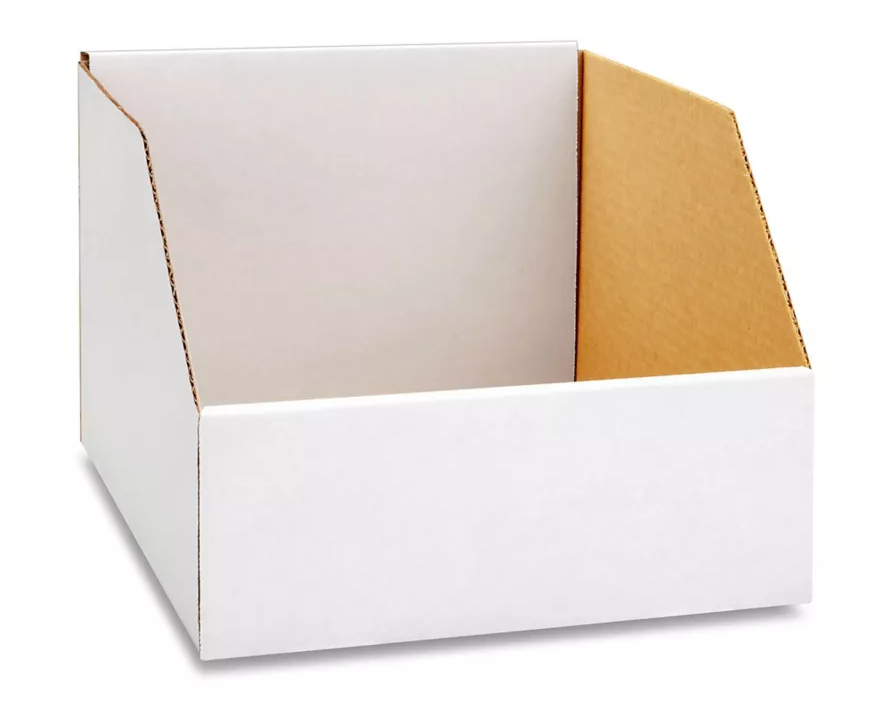
Anyways, should you choose door...I mean option..number 2, then you will indeed use the bin system and you will need to buy some bins and shelves. Please feel free to make your setup exactly how you would like. However, if you just want someone to guide you to some cheap bins and some shelving that will work well for you, fear not! Here they are:
Shelves
Option #1-Pros:Comes with required amount of shelves. Flat surface. Cons more pricey and longer set up time
Option #2-Pros: Easy to assemble. Much cheaper. Cons wire shelving not a smooth surface. Will need to buy additional stands just for extra shelving.
.png)
5. A Good (Windows Based) Computer
You will need a computer with a good processor to complete your setup.
Our image processing application is separate from the cloud based application that you will be using outside of the DTG printing process.
For the printing application, the production images are pulled into the Windows application and automatically processed based on the settings you will have already set up for your DTG printer.
The application will process images extremely fast, but the speed is also dependant upon the power of the processor that your computer is using. We recommend using a Windows computer that has an i5 processor or greater. (Note: this is only for the DTG printer...the computer that you use for picking and for shipping does not need to be windows based and processing power is not as critical.)
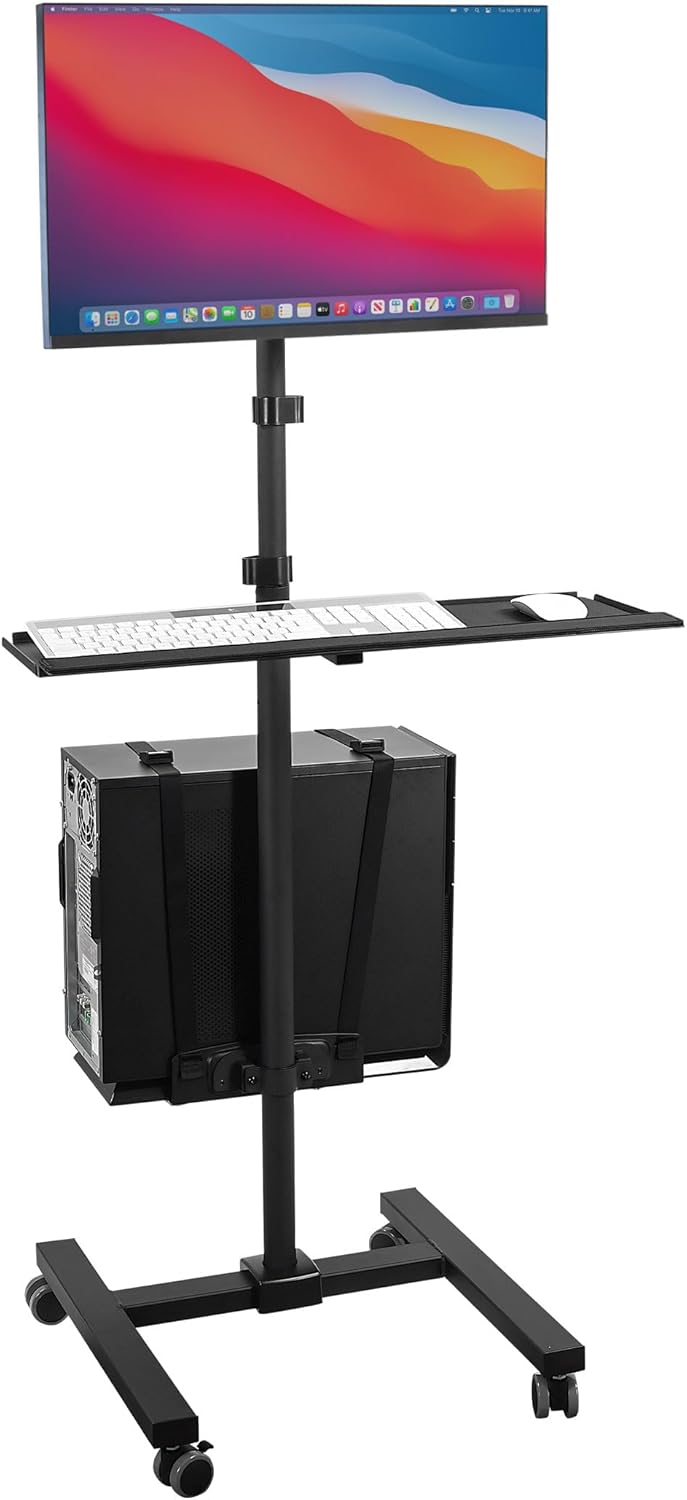
Need some help finding a good computer? Below is the set up that we use at each printer.
Monitor-you don’t have to get this big of a monitor, but it does help with making sure images and mockups are coming through.

Computer-The most important part. An i7 processor is the best bet for fast image processing.

Stand-You can put the computer directly on the machine but it is better to keep it on a stand if you have the extra funds to do so. This exact one will fit the monitor and can adust to the correct height. If you find a different stand make sure it can fit you monitors width.
Along with this Computer, you will need at least one more computer at your shipping station. You can order an extra computer and monitor from above (no need for the stand), but there is a good chance that this is already something that you are currently using.
And there you have it! If you have the hardware above, then you are ready to get started with your very own barcode workflow in Riverr.
6. DTF Image Bin Options
We keep our DTF sheets organized in individual image bins. When it comes to pressing them on shirts we know exactly where the sheet is. Each image that is printed out will come with a small bin number located at the top of the image. We then cut the image out and place it in the bin. After the shirts are picked the we will take them to the bin system and match each shirt to the images in the bin. Below are our favorite options for this type of bin. It fits most sizes of prints and you can add more of them as you grow!
Becuase nothing on the market has been able to come up with exactly what we need. We will need to choose what type of bins we would like
Option #1 Image Bin Hanging File Holders
The first option is a quick and easy way to get set up and start pressing DTF. You will need the items below:
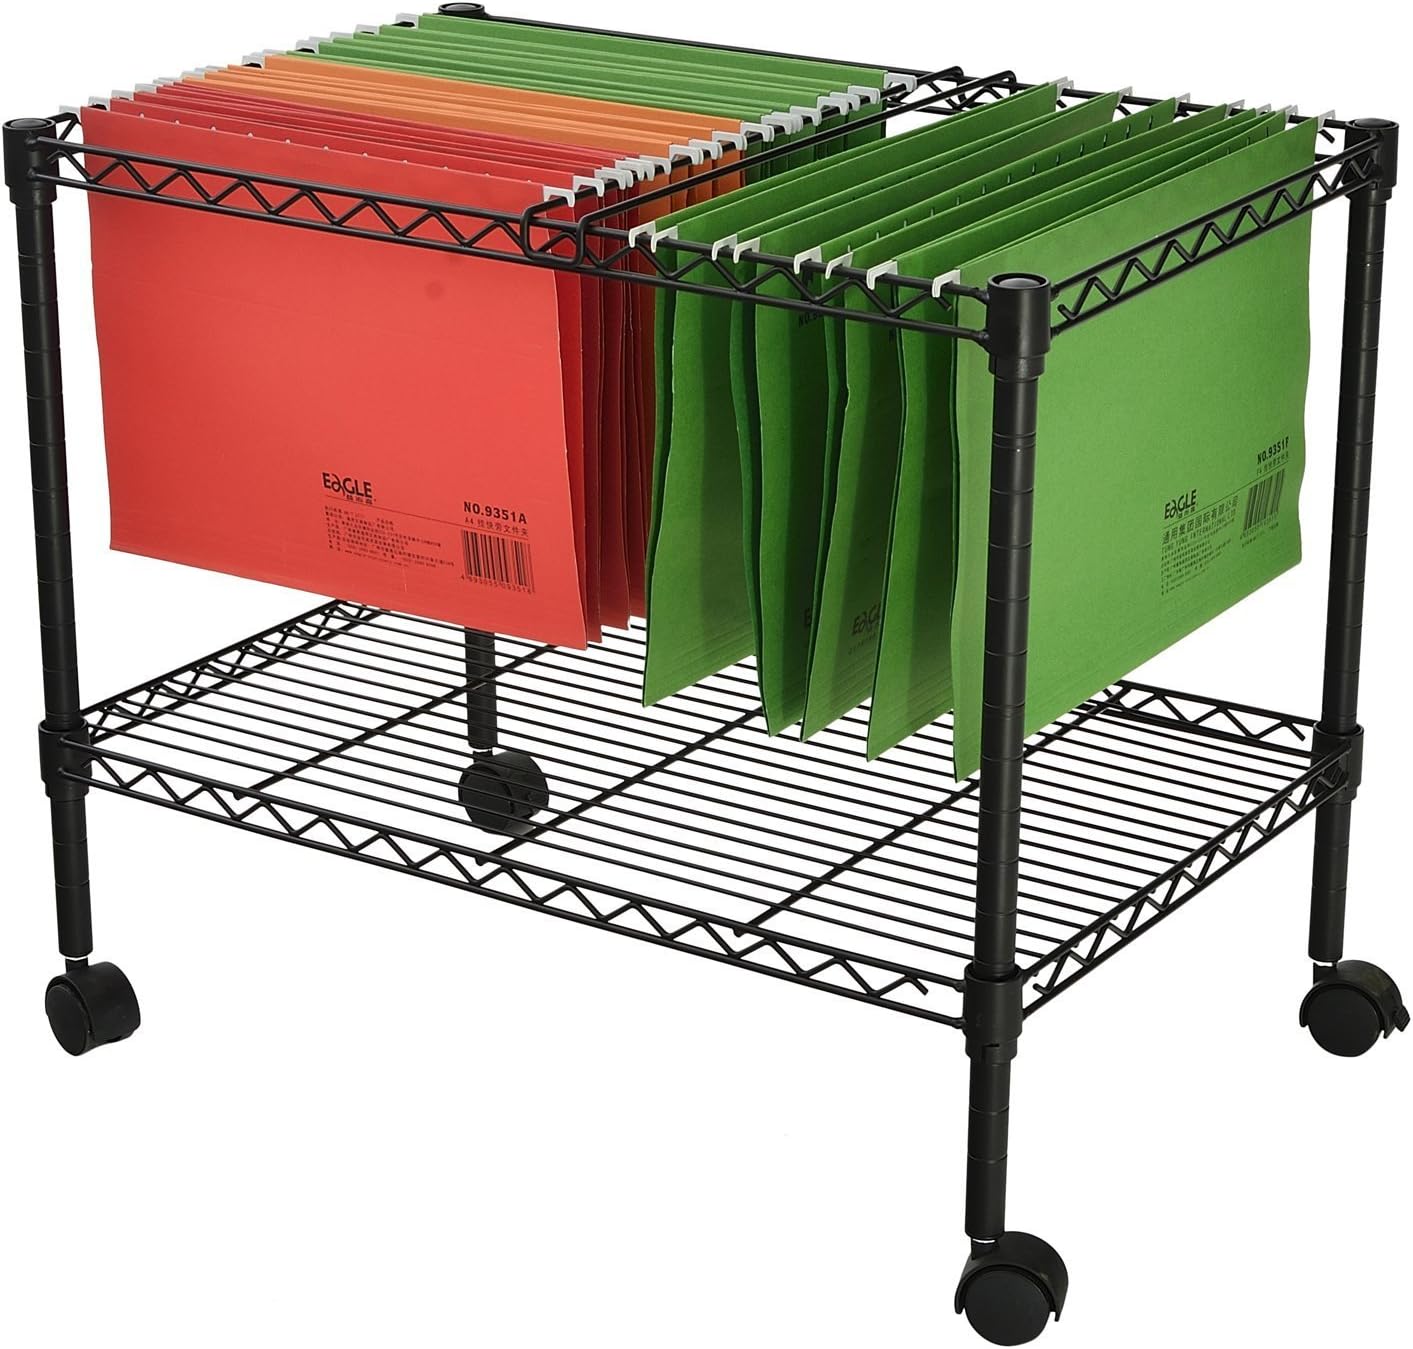
You may need to buy a few of these to get started. They start out at aroun $30-40 so it isn't a huge investment for starting out. You will also need some folders to go with it.
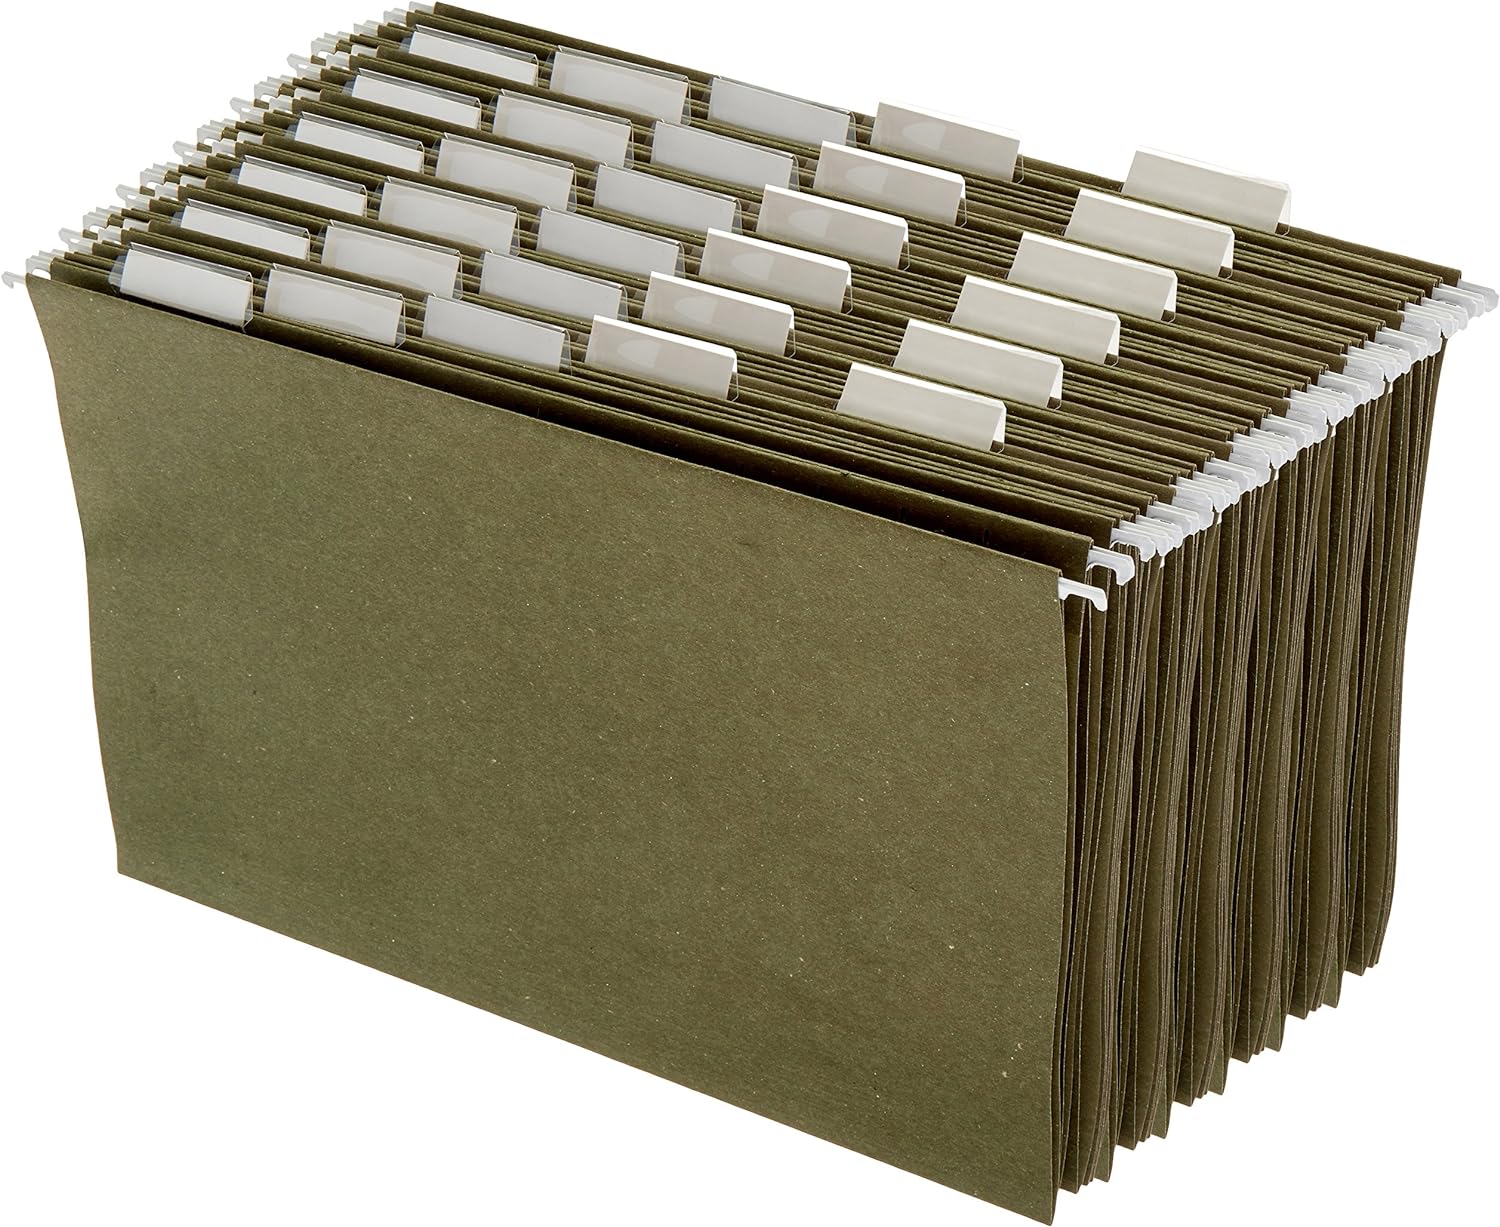
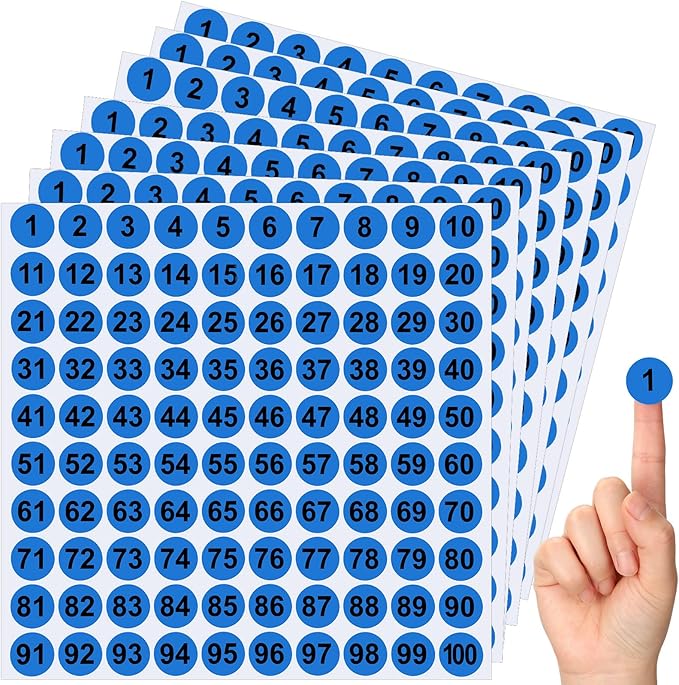
I would also suggest purchasing more than a few packs to get started. You will need as many folders as how big your batch of items will be. So if you are processing batches of 200 items you would need 200 folders. We will also need our person pressing to know which bin is which! That is what the stickers below are for.
Option #2 Image Bin Cubbies
The second option is a bit more expensive, but will be better to build onto in the future. I suggest buying the Extra Large, Triple Column, with legs. This will start you off with 144 Slots. If you are handling more than this per day I would suggest getting multiple of these. It is better to have too many slots than not enough.
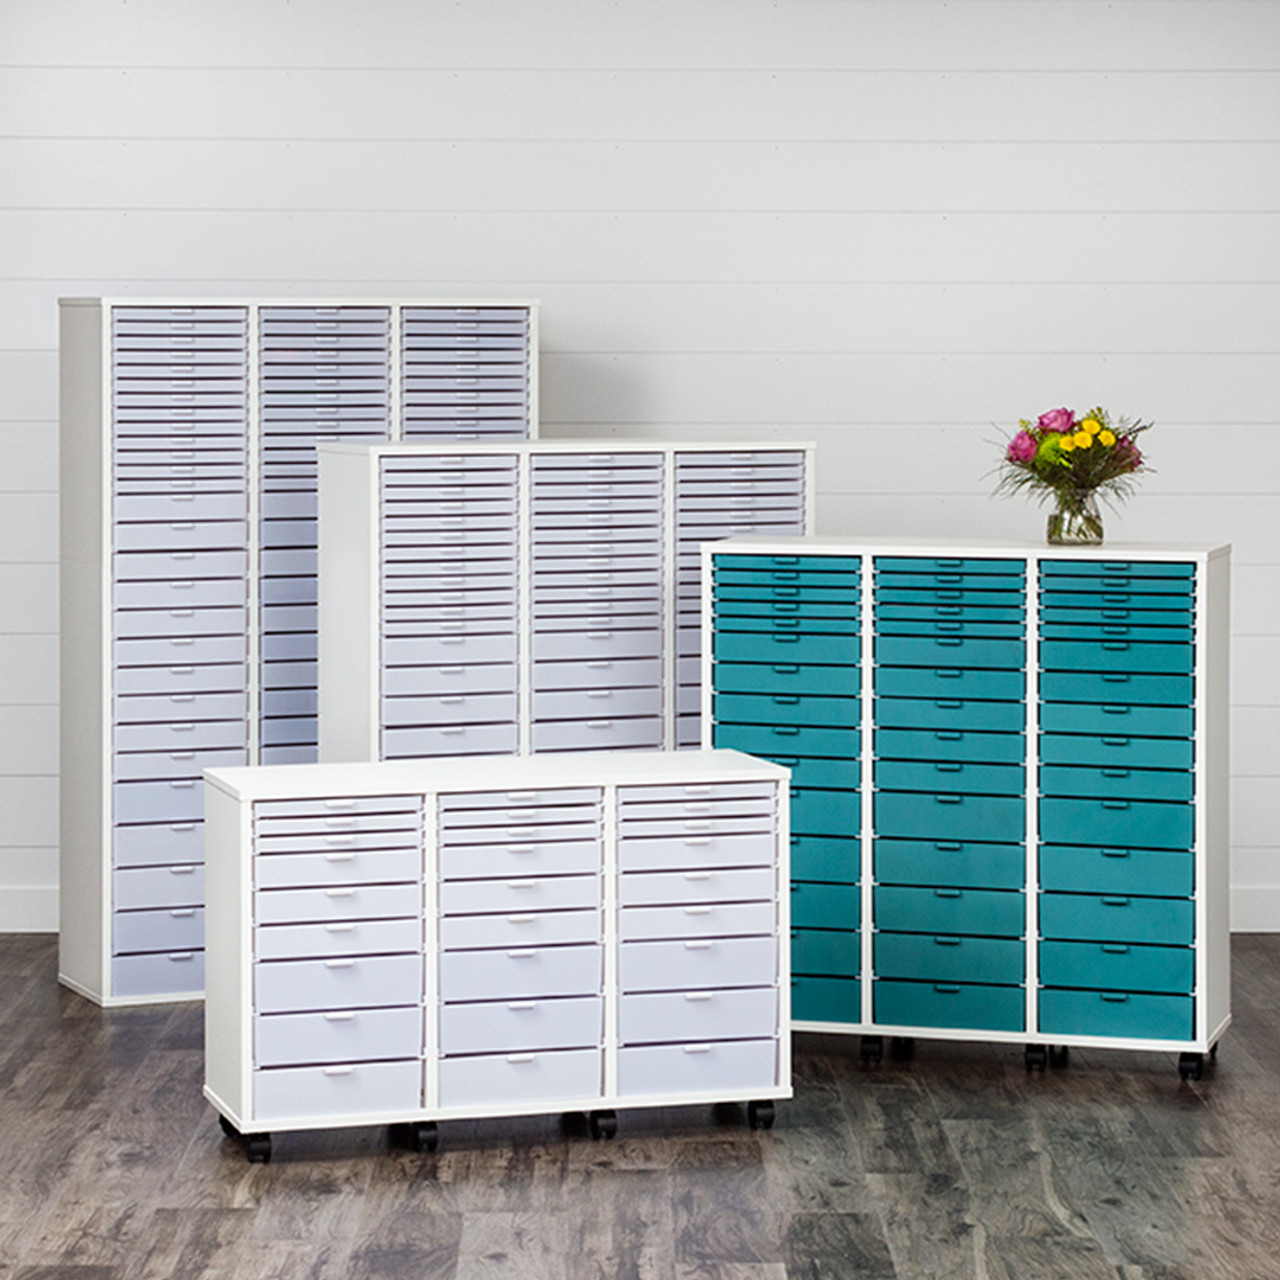
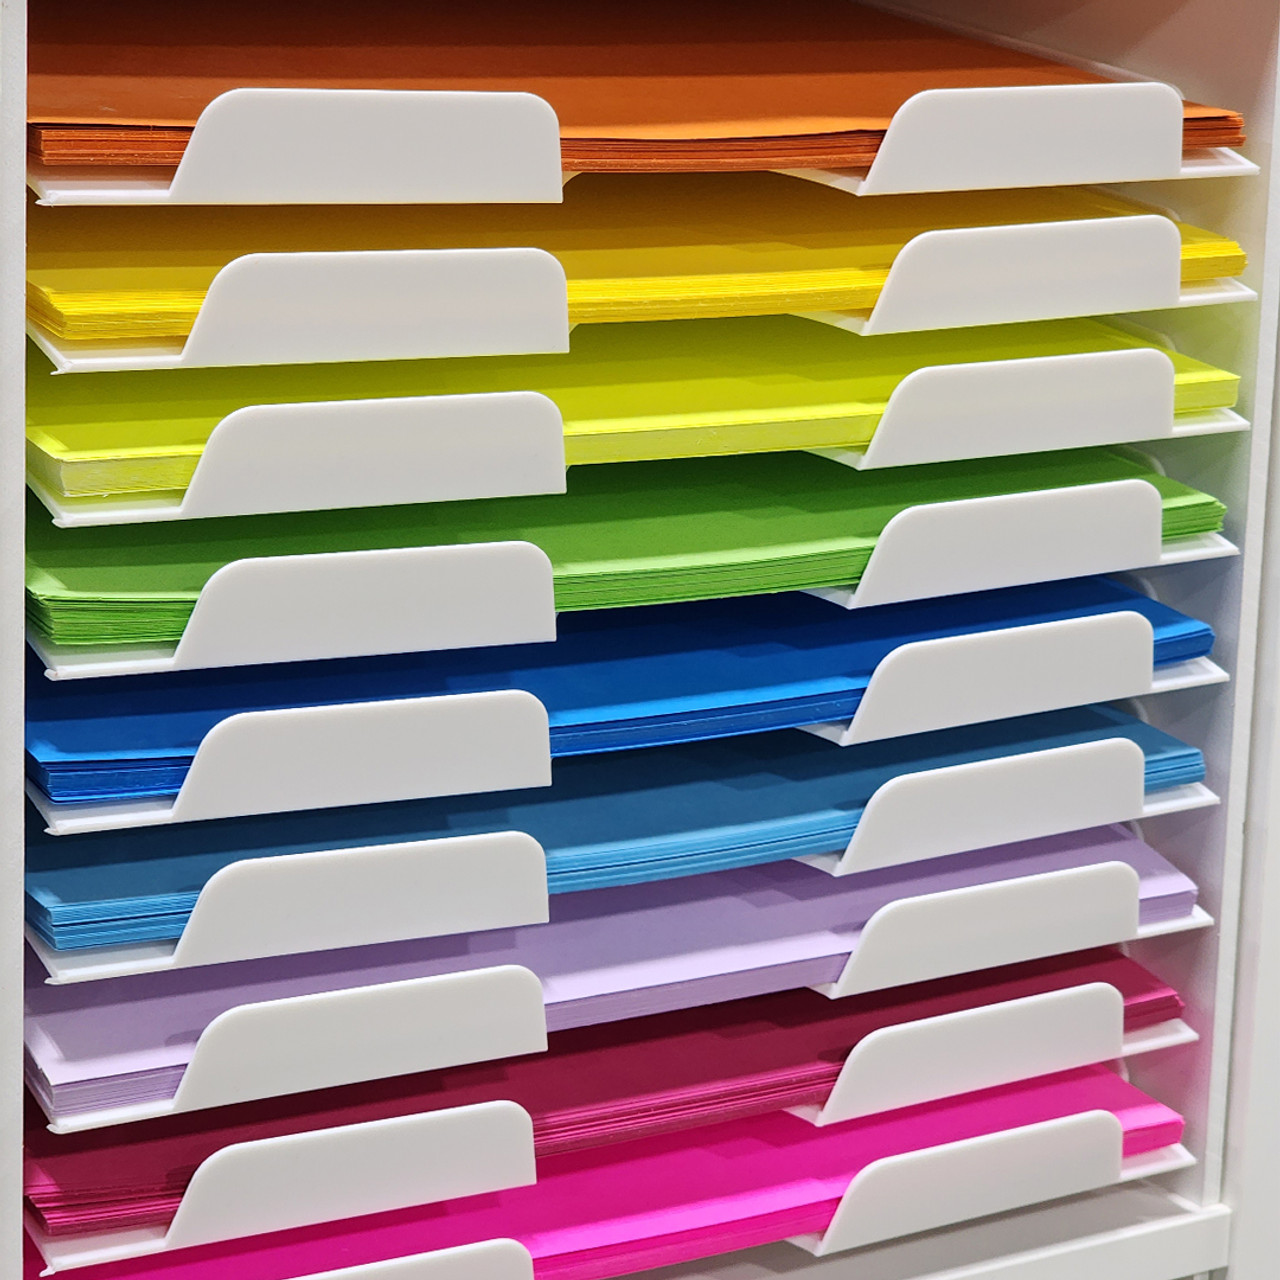
Above is just the cabinet. You will also need some shelves to go with it. To complete this you will need to buy an 144 shelves per extra large slot holder.
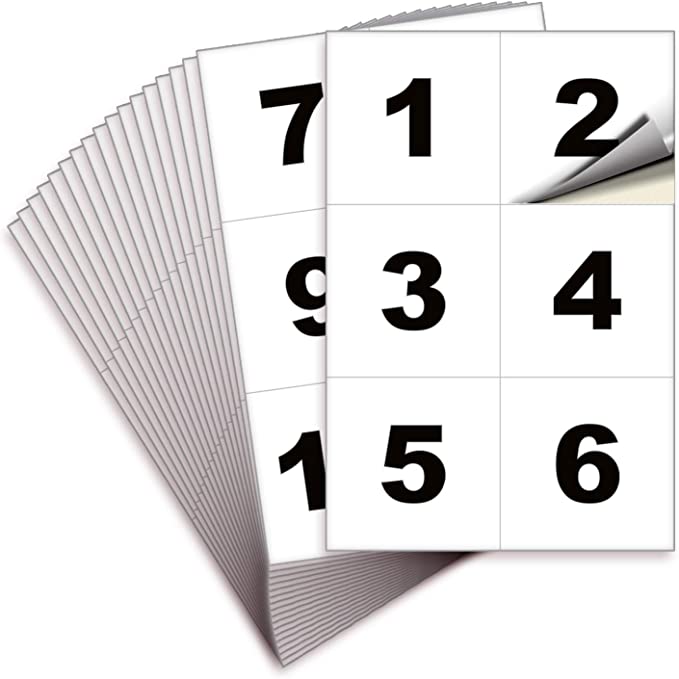
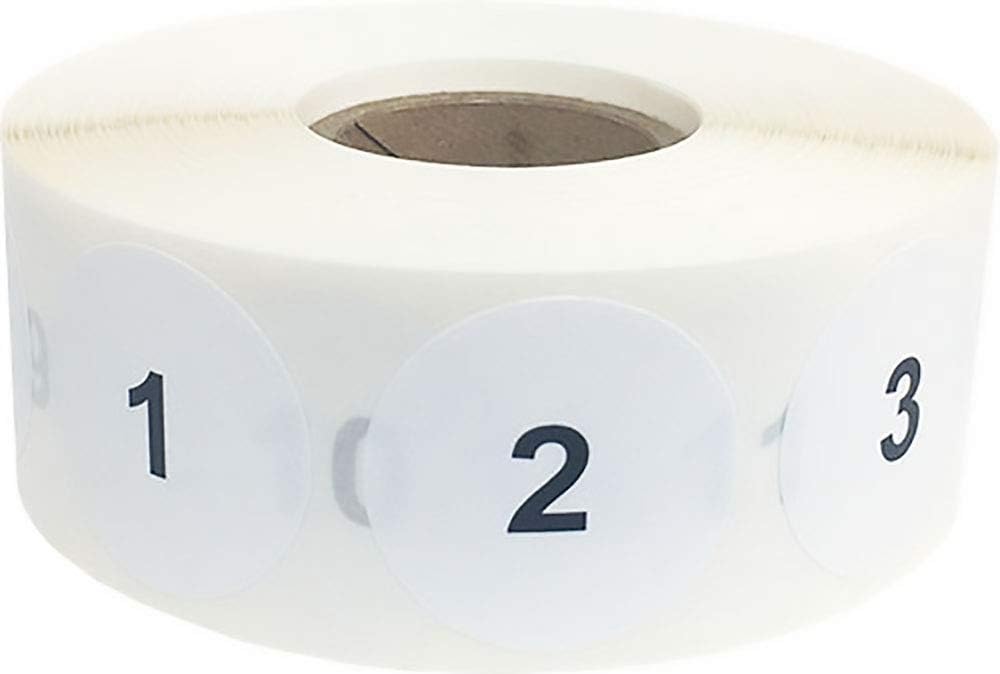
We need to number all of these image bins. Below are some stickers and some clear holders for the stickers!
6. Picking Cart
While many different things can work for a cart used for pulling tees, we think we have put together the ultimate picking cart that works with our barcode labels. Simply purchase the different parts and follow our instruction video on how you can assemble.
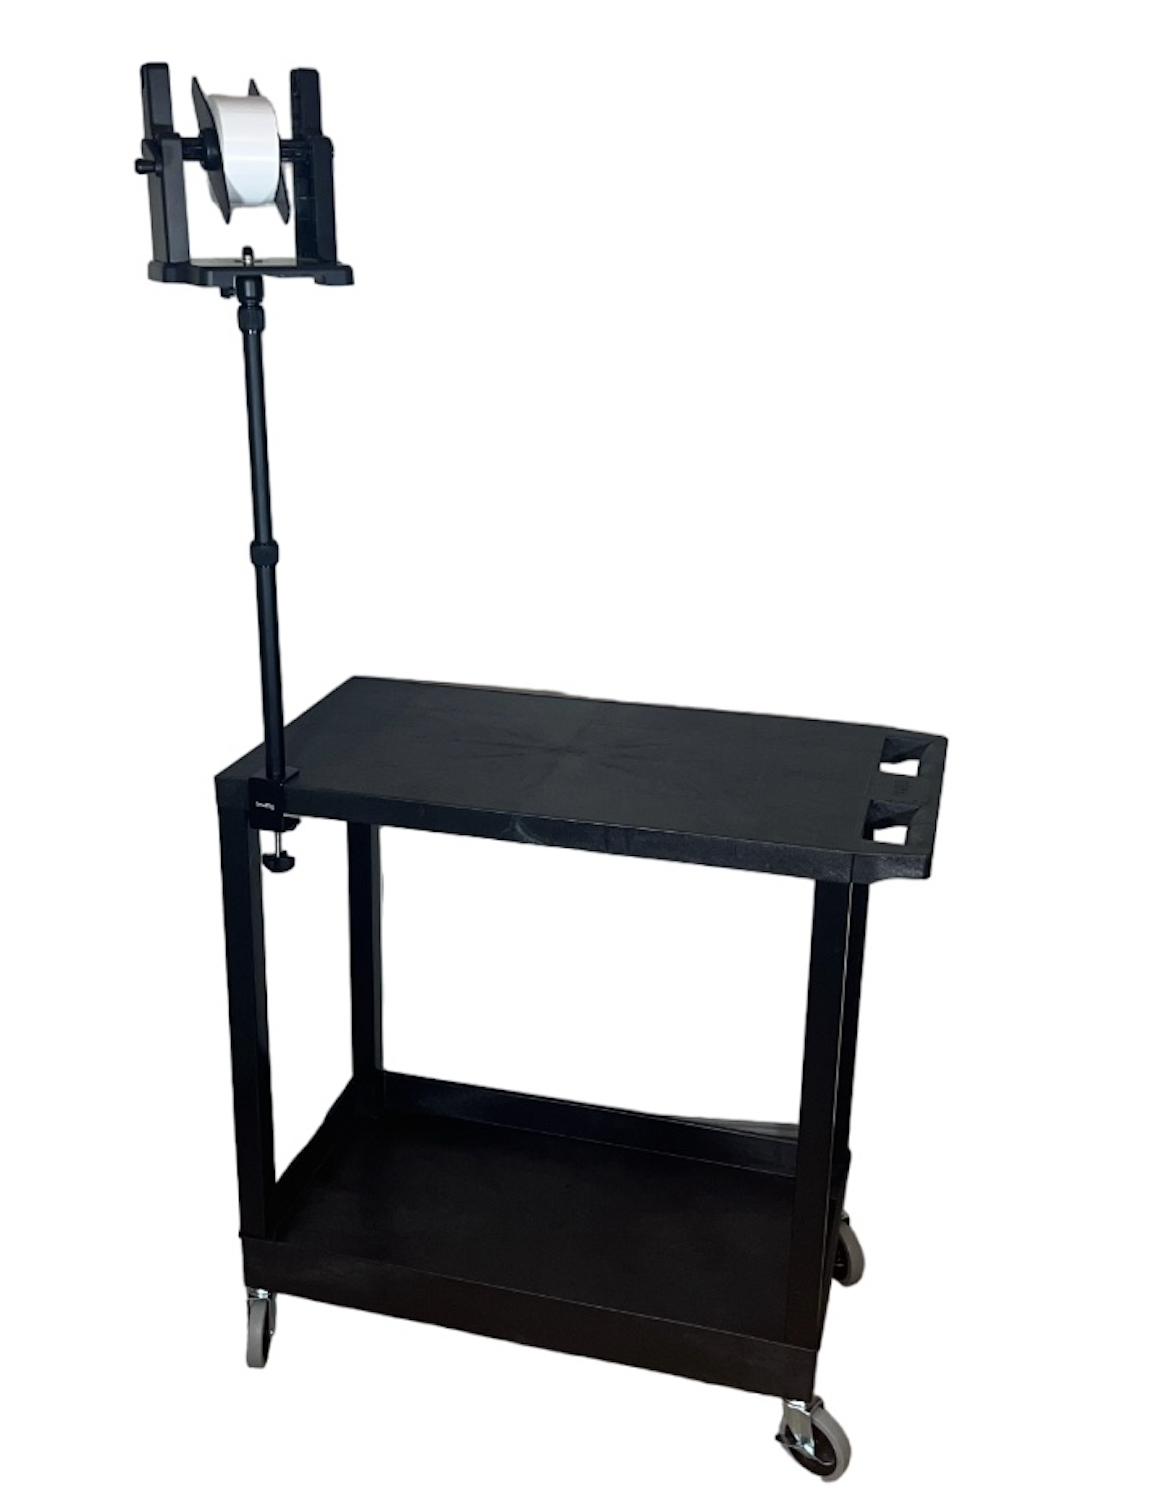
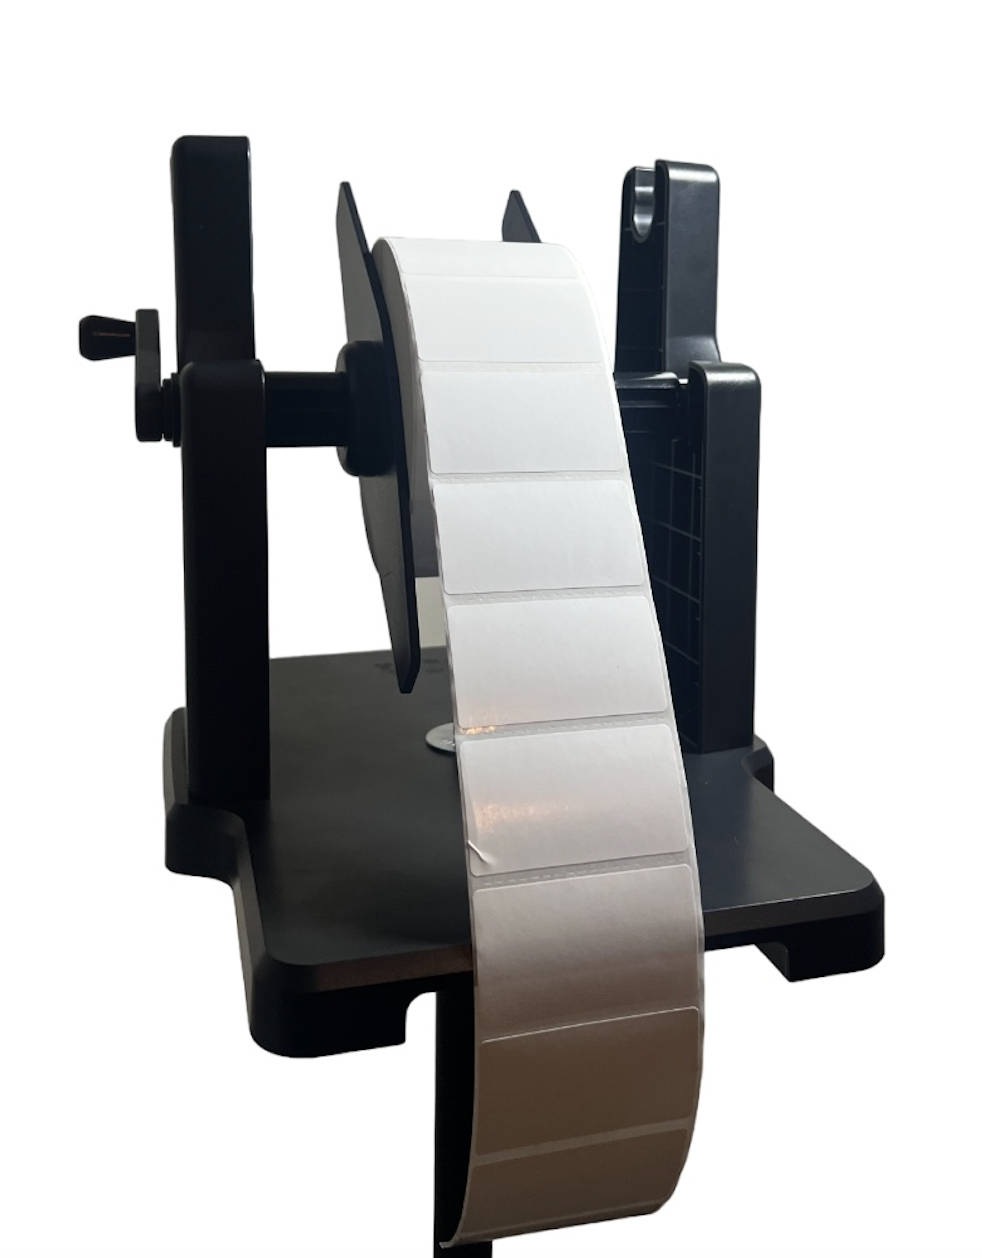
1.) (Nut) Hillman 1/4-in x 20 Galvanized Steel Hex Nut
https://www.lowes.com/pd/Hillman-1-4-in-x-20-Galvanized-Steel-Hex-Nut/3037534
2.) (Bottom Washer) Hillman 1/2-in Zinc-plated Standard Flat Washer
https://www.lowes.com/pd/Hillman-1-Count-x-1-37-in-Zinc-Plated-Standard-SAE-Flat-Washer/3058563
3.) (Top Washer) Hillman 8-mm x 30-mm Zinc-plated Metric Fender Washer
https://www.lowes.com/pd/Hillman-1-1-4-x-5-16-Fender-Washers/3059121
4.) Mobile Heavy-Duty Multipurpose Utility Cart 32" x 18"
https://www.amazon.com/dp/B00O2Z62H4?psc=1&ref=ppx_yo2ov_dt_b_product_details
5.) SmallRig Selection Camera Desk Mount Table Stand 13"-35" with 1/4" Ball Head
https://www.amazon.com/dp/B09DFYK855?psc=1&ref=ppx_yo2ov_dt_b_product_details
6.) External Rolls Label Holder
https://www.amazon.com/dp/B07XDX7NN4?ref=ppx_yo2ov_dt_b_product_details&th=1
Cart Assembly Video
https://www.youtube.com/watch?v=sGtN2xDsaFw
As always, if you have any questions, please reach out to me (Brad), at [email protected] and I will be happy to help.
